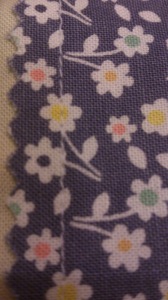
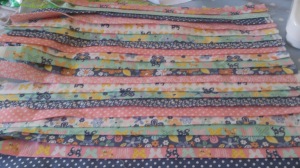
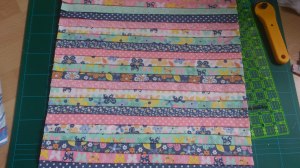
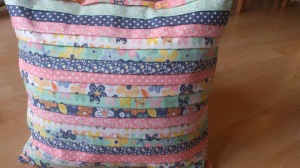
Rather conveniently, as one of my Blogging 101 tasks is to either join a blogging event or complete one of the Daily Post’s challenges, I have a make which fits this week’s photo challenge nicely. You can visit the page yourself for more details, but here is the summary: Close-up – This week, discover the hidden details that can only be seen up close. So above is my close-up. I had a play around with the cameras on both my phone and my tablet, and I was quite pleased with this considering the limitations of each camera. It shows the hidden sewing which goes into making the beautiful cushion cover I completed the other day (scroll down if you can’t wait to see the whole thing).
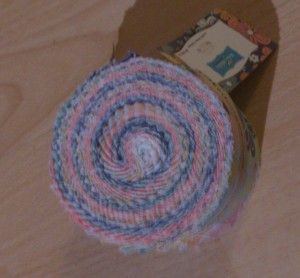
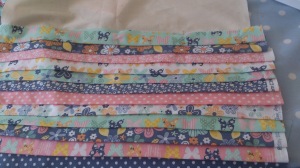
The picture shows the straight stitching (stitch length 2) with a quarter inch seam, attaching a strip of fabric to the lining of the item I was making. The fabric is a folded 2 and a half inch WOF strip from a Rolie Polie (Riley Blake’s answer to Moda’s Jelly Rolls). It is one of 21 half widths which make up the front of a cushion cover. I was given the idea when I found this tutorial on Pinterest a few months ago: Quilting in the Rain
When I spotted the gorgeous fabric from the Riley Blake collection ‘A Beautiful Thing‘ by Zoe Pearn, I couldn’t decide which patterns I preferred. There was no way I could afford to get all of the ones I like. And then I discovered Jelly Rolls/Rolie Polies, which are a great way to get all the patterns in a collection without spending a fortune on FQs (fat quarters) of each one. Moda invented them and include (usually) 40 WOF (width of fabric) strips in each. Other manufacturers do the same of make smaller rolls. Riley Blake’s are called Rolie Polies and include 18 strips.
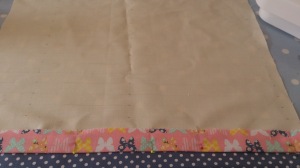
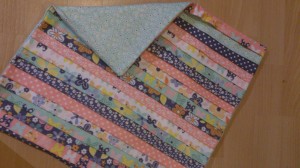
I used a spare piece of plain cotton fabric for the lining material, and a larger piece of one of the collection’s patterns as the back. I also alternated which side of the strip I started sewing from. I had seen a recommendation to do this a few days before I started the project, and the idea is to lessen the likelihood of bowing in the middle of the strips. It seems to have worked!
The sewing on of the back was easy and the final cover when turned looks like this:
To be honest, the part that took the longest was pressing the strips and then deciding on the order I wanted them to be in. The sewing itself was quick and straightforward, literally! Take another look at the close-up for confirmation of this!
And the remnants? They are going into my stash which is awaiting turning into hexies. Maybe I should do some close-ups when I sew those and compare the neatness of the machine sewing with the more rustic hand-sewing…
Bye for now 😀

